
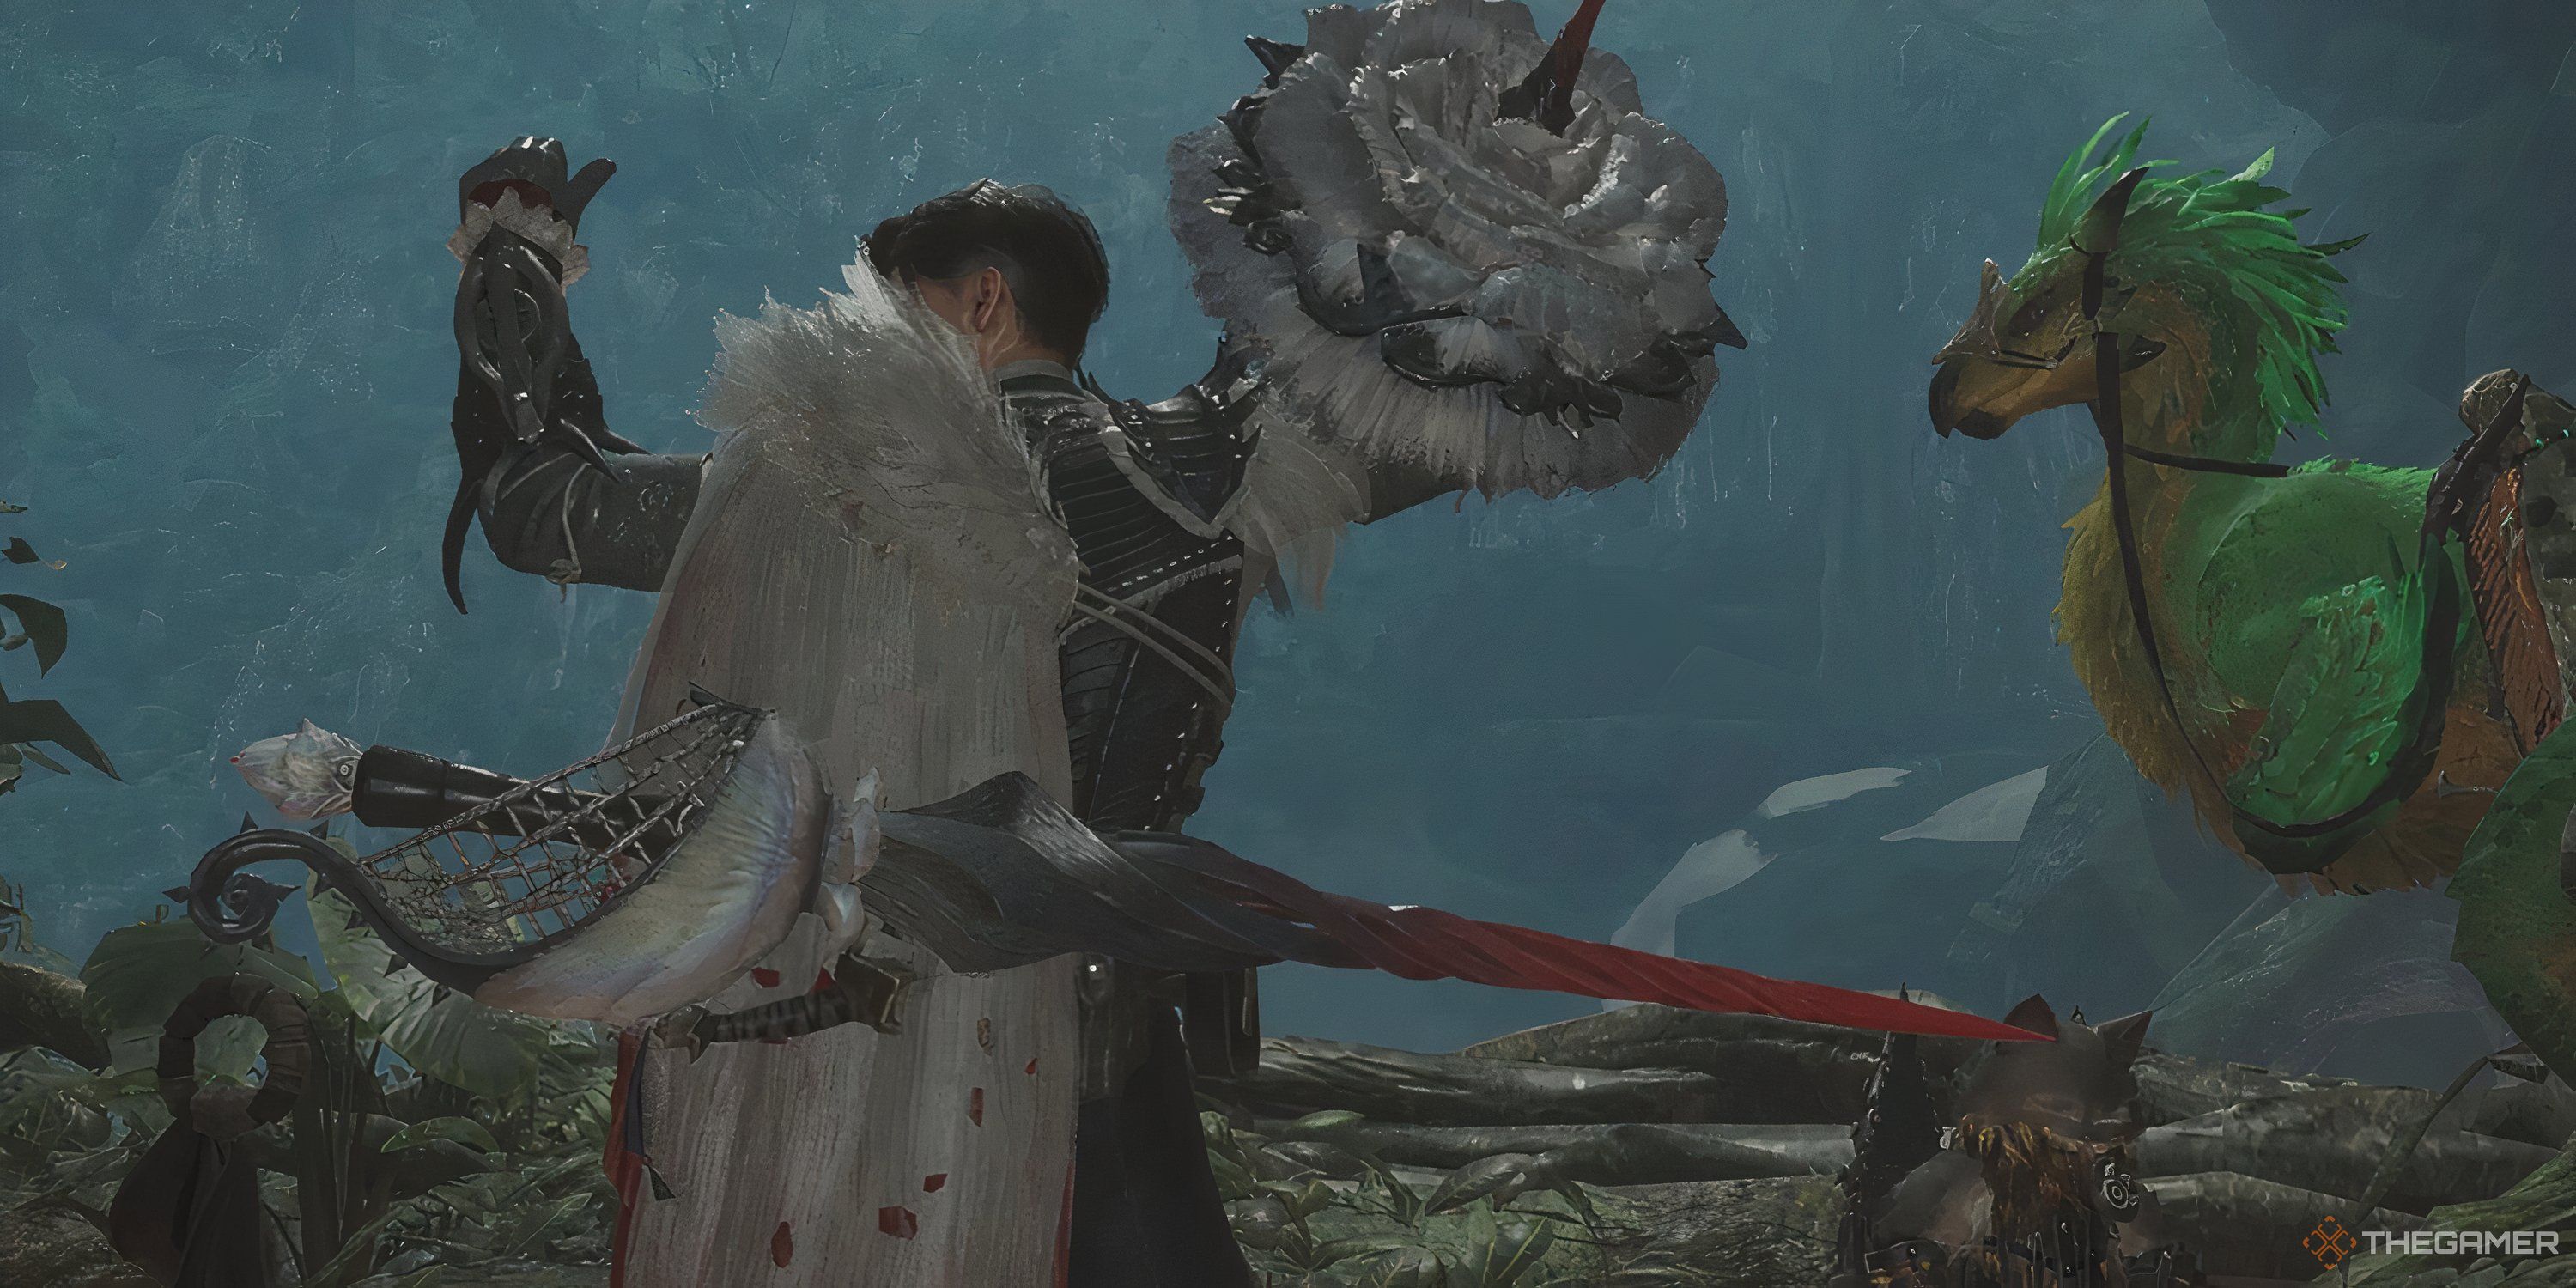
Sword and Shield is one of the most famous and traditional weapons you can pick up Monster Hunter Wildes. It is easy and easy to use, but it is extremely powerful and, regardless of, works for you.

Relevant
Monster Hunter Wildes: Full Sword and Shield Weapon Guide
Swords and shields prepare for a basic weapon set that is easy to learn and mastering in Monster Hunter Wilds is very beneficial.
It doesn’t matter if you are a new player or experienced, sword and shield is a trusted friend who will ensure that your victim is a breeze. If you want to take a sword and a shield and spend an easy time in the game, here is a detailed construction that will prepare you and the game’s prepare.
Monster Hunter Wilds is a relatively new new game, and bloods are still being adjusted as players are detecting maximum buffaloes that offer the most loss. Thus, the bloods are subject to changing and it is the same with the following sword and shield setup.
Sword and Shield Construction Review

Is very easy to use swords and shieldsBut when it comes to preparing the thing, you need to use both parts of the weapon. The sword will be your loss option, and you will need aggressive leather Critical promotion and exploitation of weakness To do it.
However, when it comes to a shield, You will need aggressive guard To ensure that blocked attacks give you an increase in damage. Additionally, you have to do Learn the perfect guard And, whenever it is necessary, perform an electricity collision against a monster. As a thumb rule, whenever a shield is added, the aggressive guard is a skill that will benefit you.
It is also important to remember that Monster Hunter is banned in decoration in WildsAnd they are separated on the basis of coaches and weapons. In this way, you have to spend a lot of time in farming to collect all the decoration needed to prepare this construction.
Ideally, anger for the best looting .The arc weld and anger .Go Gore Magala is recommended.
Sword and Shield Blood Guide

Here is a way of your armored and decoration that is for the endgam sword and the shield Blood:
|
Gear slot |
The gear name |
Decoration |
|---|---|---|
|
Weapon |
Jigger-NH (Gore Megala Weapon) |
Guardian/Dragon Jewel (3), critical Jewel (2), critical Jewel (1) |
|
Head |
G.Boni Helm Beta (Guardian Odogaron Gear) |
Phoenix Jewel (2) |
|
Chest |
Arclock Mail Beta (Arc Weld Gear) |
Tenderzer Jewel (3), Phoenix Jewel (2) |
|
Hand |
GBoni Breysters Alpha (Guardian Odogaron Gear) |
– from. |
|
Back |
Gore Kundli Son (Guru Magala Gear) |
Tenderzer Jewel (3), Phoenix Jewel (2) |
|
Tandem |
Gore Grovis Son (Gore Magala Gear) |
China Jewel (3), Sai Jul (1) x2 |
|
Attention |
Charming 2 |
– from. |
I Slots of weaponsJigger-NH, Gore Megala go for a sword and shield, and it comes with a Level three, Level two, and Level One Jewel Slot. You will need to connect Guardian/Dragon Jewel to three, which will give you Offensive Guard level three and Dragon Attack Level One. Critical ornaments will give you Critical promotionWhich significantly increases your loss. In addition, Artine Sword and Shield is too strong too, And if you want to reduce your loss further, you can go with it instead of Gore Megala weapons.
If you really want to ride the Dragon attack, You can remove the Guardian/Dragon Jewel and go with Dragon Jewel Level Three. However, aggressive guard boff is essential because you can benefit from the shield when blocking.
I Head slotGo for G -Ebony Helm Beta, who comes with one Level two jewel slot. Here, you will slot in Phoenix Jewel Two, which comes with coalescence buffAnd whenever you clean a debuff, it increases your basic loss and status. While fighting monsters like Arc Weld, you will often suffer from blights, making it very easy to mobilize this skill.
I Chest slotGo with arclic mile beta, who comes with one Level three jewel slot and one level two jewel slot. Here, you need to slot into the Tenderzer Jewel Level Three Weakness exploits And another phoenix jewel level from two Increase the level of unity. It also provides a piece of coach’s weakness exploitation.

I Hand slotYou will need G -Ebony Breyser Alpha, and it comes with it Divine Blessing levels as well as two levels. However, it has no decoration slot, but you do not need anyone, because the armor of the armor here is important.
I The waist slotGo with Gore coil son, who comes with one Level three and one level two jewel slot. Here, you need to connect another Tenderizer Jewel Level Three and Phoenix Jewel Level two Exploit to the exploitation of weakness and the level of unity.
Finally, I The slot of the legsGo with Gor Grivis Beta, where you need to attach China’s jewelry level three and two levels of jewelry. China Jewel Level 3 Helps Increase the burst levelAnd Sai provides jewel Anti -virus buffen. If you want, you can leave China Jewel Level three and instead Go for the Challenge Jewel Level Three When the monsters are provoked, your attack and commitment give rise to.
The exploiter gives you the charming Give the weakness of the weakWhich helps the highest leather with the highest commitment when hitting weak monster parts. However, if you are not hitting wounds and weak parts but usually want more attack and commitment, You can also go with Challenger Charm 2 for anger buff.
Gore Magala comes with gear The black lunar eclipseWhich makes the player a frenzy. The treatment promotes you 10 % commitment and also triggers anti -viruses, which promotes another 15 % commitment. All they need to do is aggressively attack a monster to clear the frenzy.
Sword and Shield Skill Review
The Skill Review for Sword and Shield Blood is as follows:
-
Critical promotion level 3
-
Aggressive guard level 3
-
Level 3 of the main element
-
Dragon Attack Level 1
-
Level 5 of weakness exploitation
-
Burtis Level 5
-
Level of Alliance 3
-
Anti -virus level 3
-
Level of Constitution 2
-
Divine Blessing Level 1
-
Flunch Free Level 1
Points to play this sword and shield Blood

Playing a sword and shield is very easy, as Here’s just part of learning is the Perry of Missy attacks And perform a perfect guard. Will do it Dynamic offensive guard For you, which will result in a massive increase in your attack.
Additionally, you will need Learn some basic combs with your sword and shield So that you continue to cut through monster. The biggest benefit of this weapon is that it is Extremely low -risk but comes with a higher reward.
One of the problems with the sword and the shield is that you lose very fast. That way, you can use razor faster instead of a critical promotion if you want. Otherwise, it is better to occasionally accelerate your weapon.
You get a dual blade speed and the Great Shield’s defense force, but you do not have much commitment to the combination and attacks, which means that you are never at risk of death. If things ever look dark, block easily, and you hope you will survive for a long time until you get the opening to heal.

Next
Monster Hunter Wildes: Access Switch Blood Guide
Munster Hunter Wilds maximize the production of switch x with this blood in the Monster Hunter Wilds.